Overview
This is an in-depth, step-by-step walkthrough of the process for using Kneadatite (aka “green stuff”) and texture stamps to prepare scenic bases for miniatures.
Materials
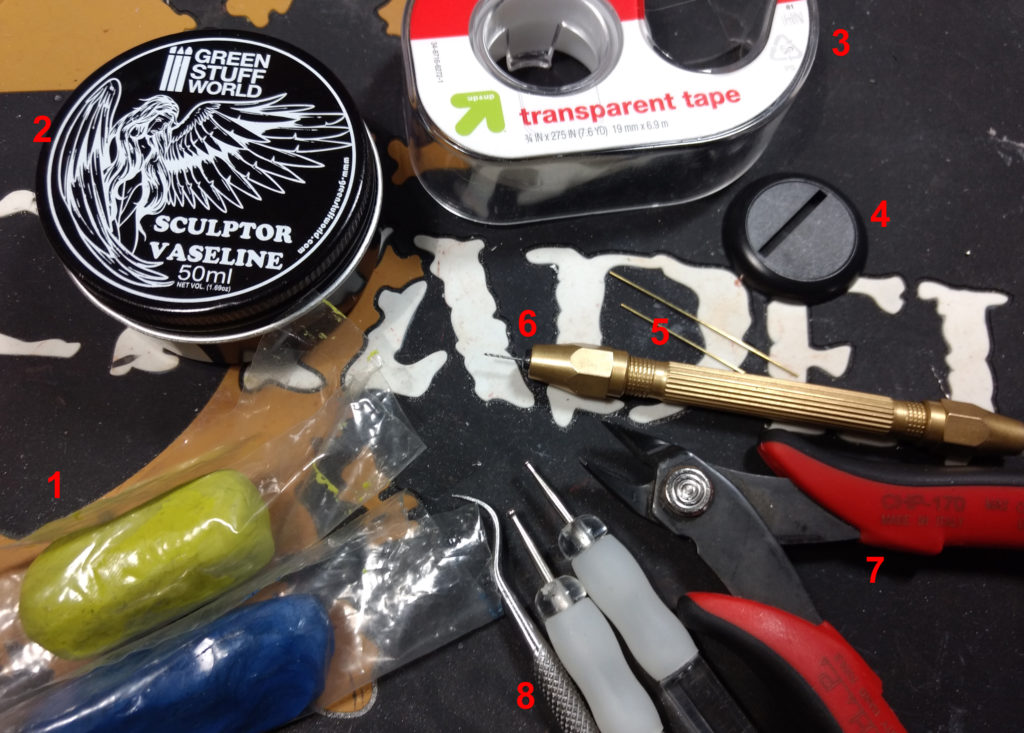
For this project, you will need the following materials:
- Two-part epoxy putty
- This guide uses blue and yellow Kneadatite (aka “green stuff”); any two-part epoxy putty with a working life of more than 30 minutes is suitable
- Vasline
- This guide uses Sculptor Vaseline from Green Stuff World (GSW); regular Vaseline works just as well
- Clear tape (if the base has a slot)
- Blank bases
- Any size or shape base will do; this guide uses a 30 mm round lip base from Reaper Miniatures
- Wire for pinning the miniature to the base
- Pin vice and drill bit
- Flush cutters
- Sculpting tools
- Hobby knife (not pictured)
- Dish soap (not pictured)
- An old toothbrush (not pictured)
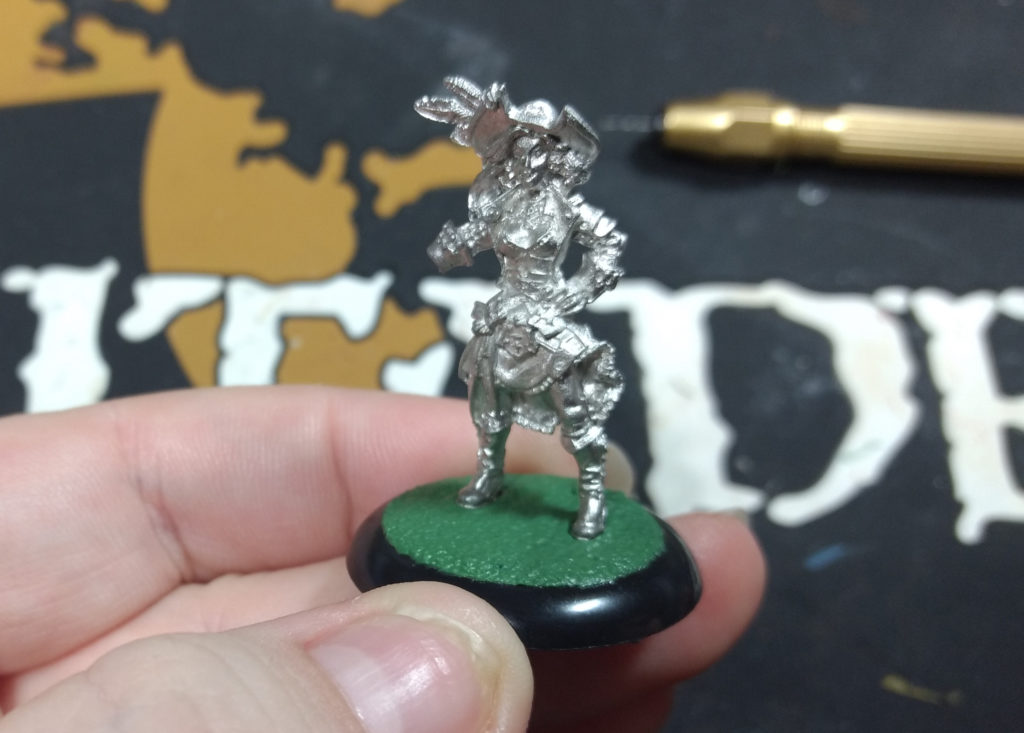
Most importantly, you will need the miniature the base is being prepared for (this guide uses the ReaperCon 2012 Pirate Sophie miniature) and the texture stamps you want to use (this guide uses the Asphalt & Sand stamp from Happy Seppuku Modelworks).
Preparation
Preparing the Miniature
It is advisable to use unpainted miniatures when preparing a scenic base; these steps can be messy, and you don’t want to risk damaging a finished paint job in the process.
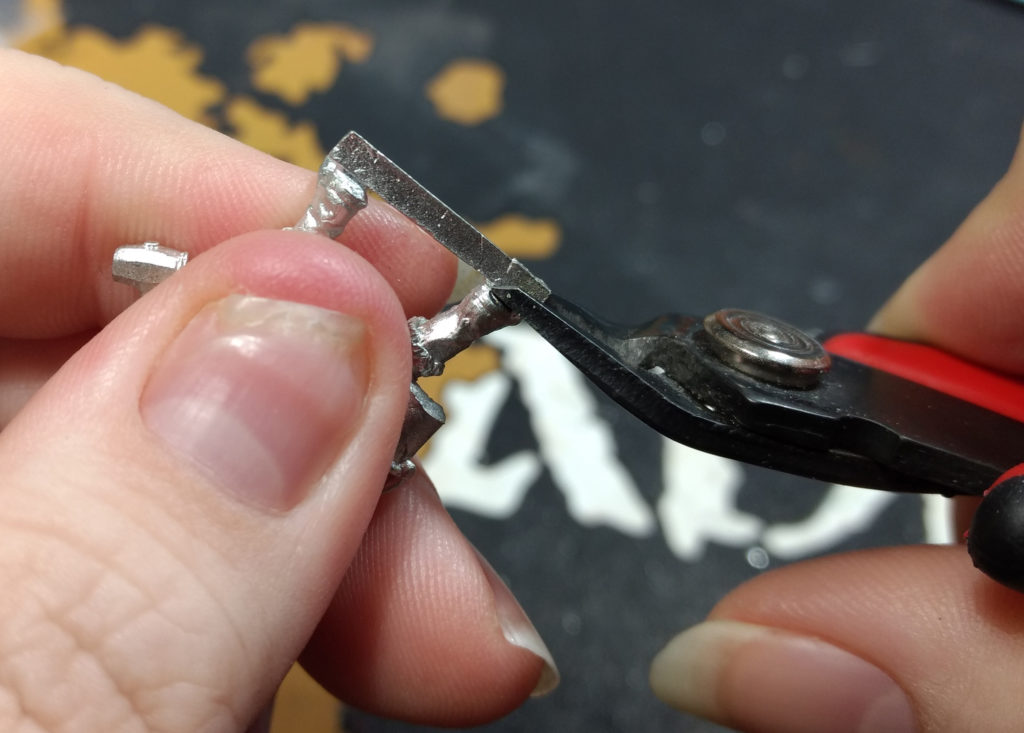
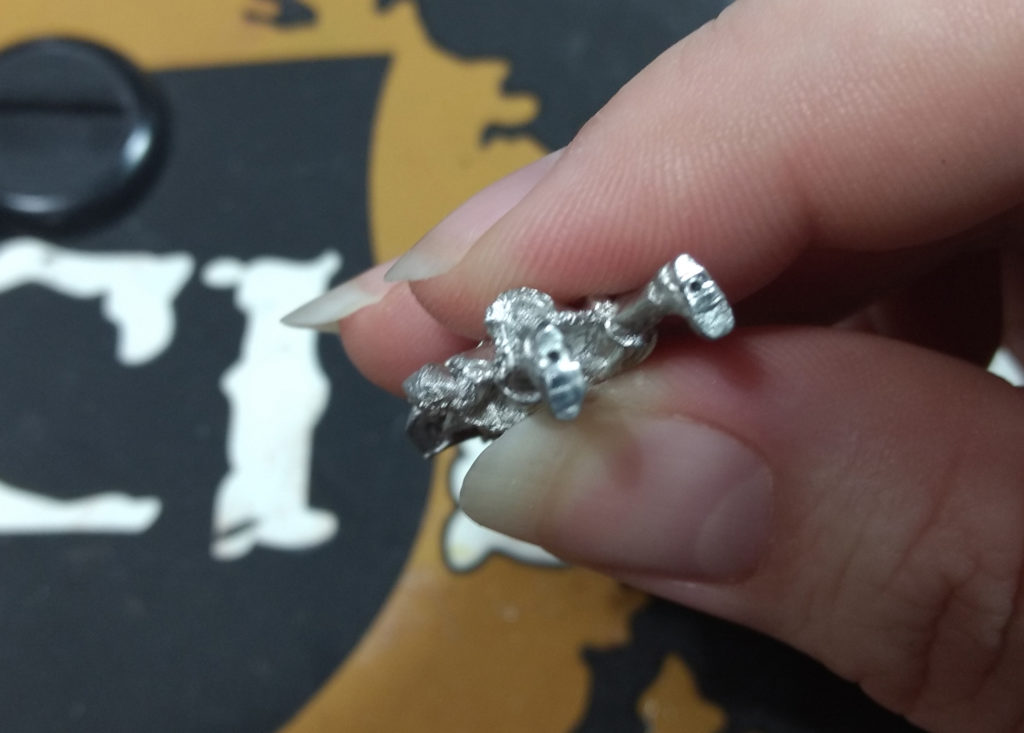
1. Use flush cutters to carefully remove any molded base material or tabs from the feet of the miniature.

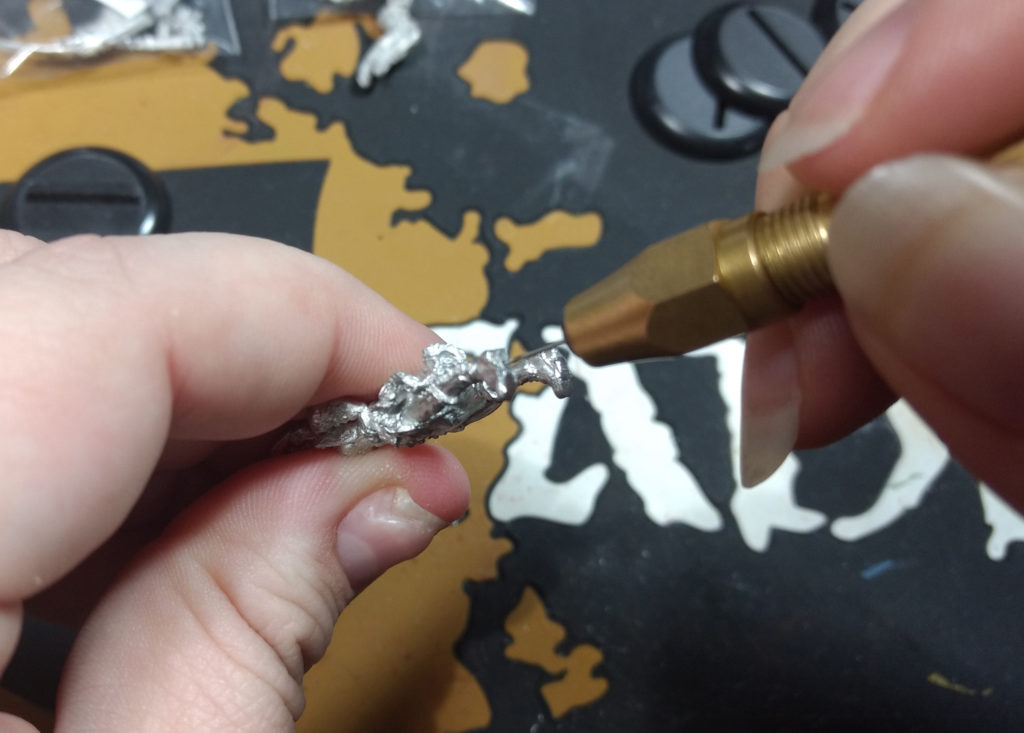
2. Use the pin vice to drill one hole in each of the miniature’s feet; do not glue pins into the holes just yet.
Preparing the Base
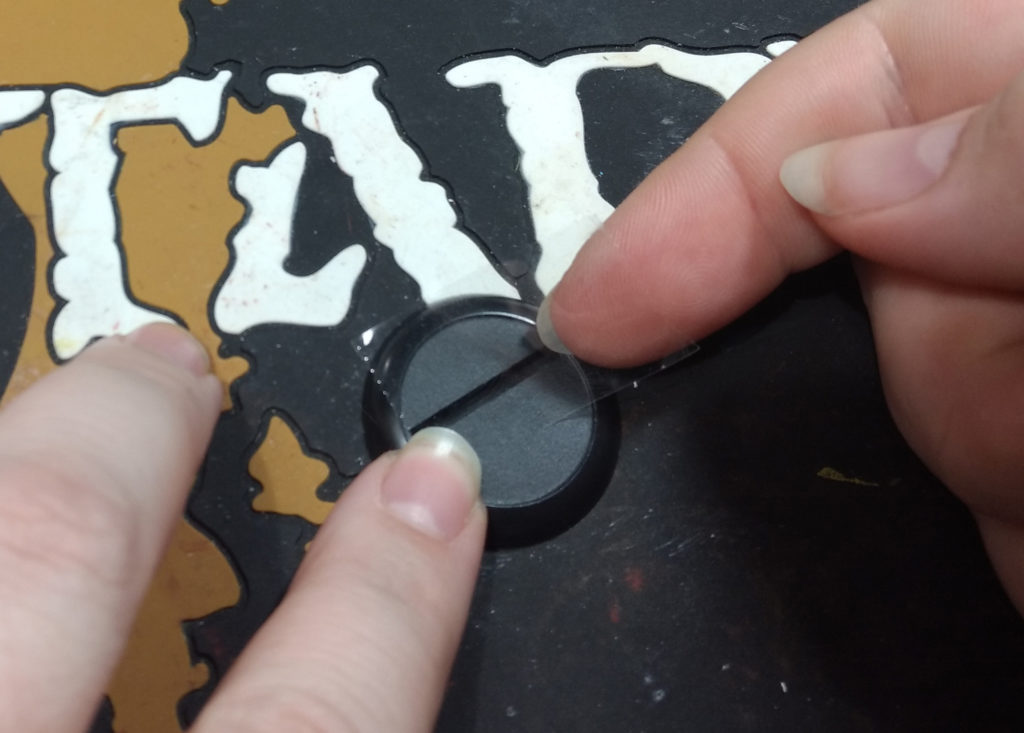
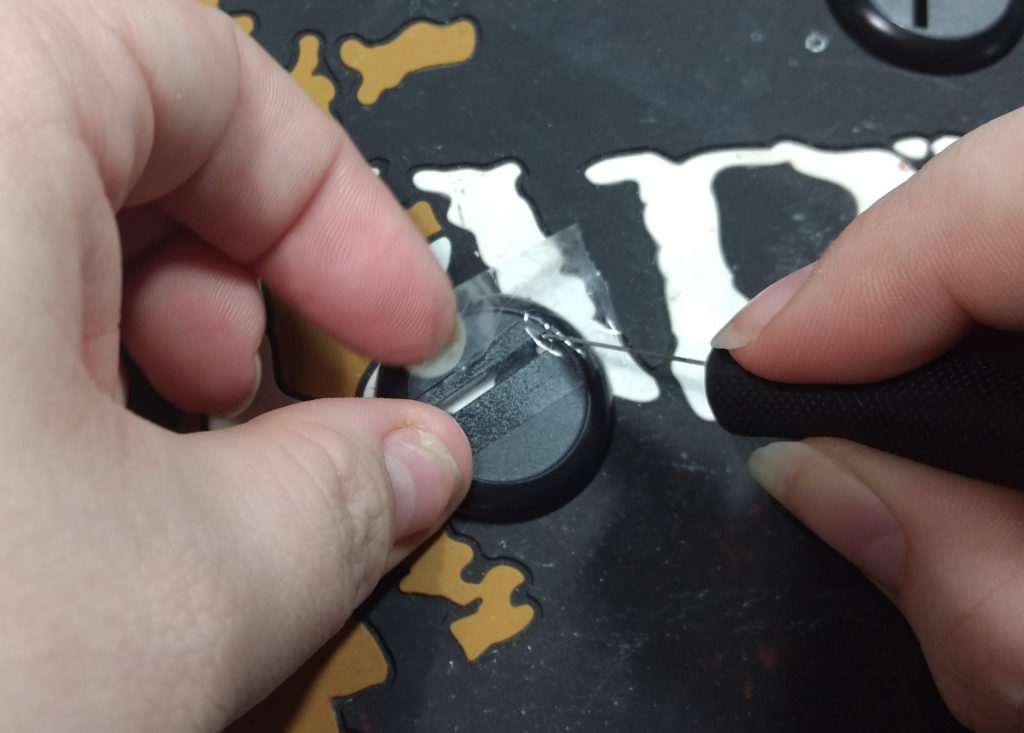
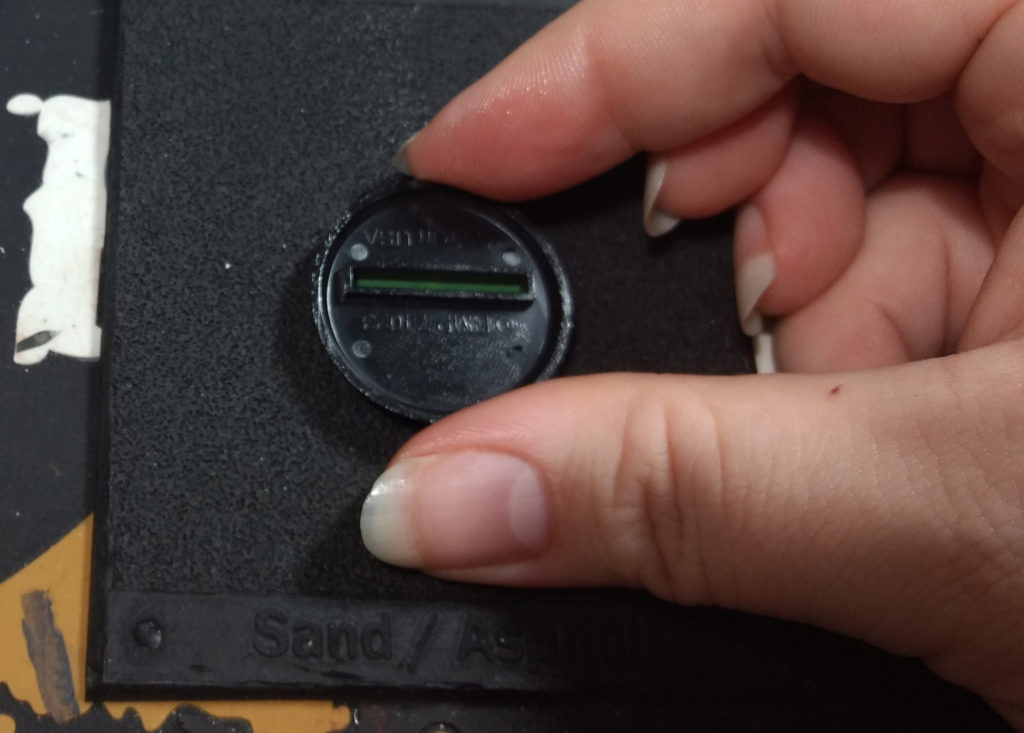
If the base you are using has a slot, you will need to fill the slot with putty and allow it to cure, or cover the slot with clear tape. Covering the slot with tape is the fastest preparation method.
1. Cut a small piece of clear tape, and place it over the slot on the base.
2. Use a hobby knife to carefully trim away excess tape.
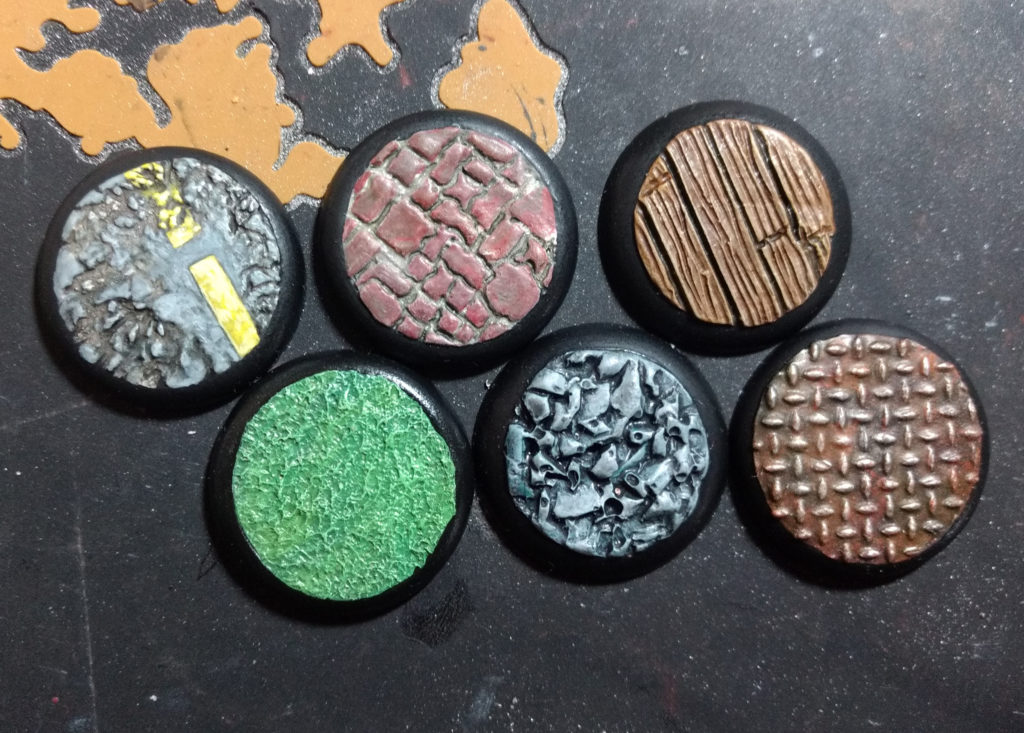
Creating a Stamped Base
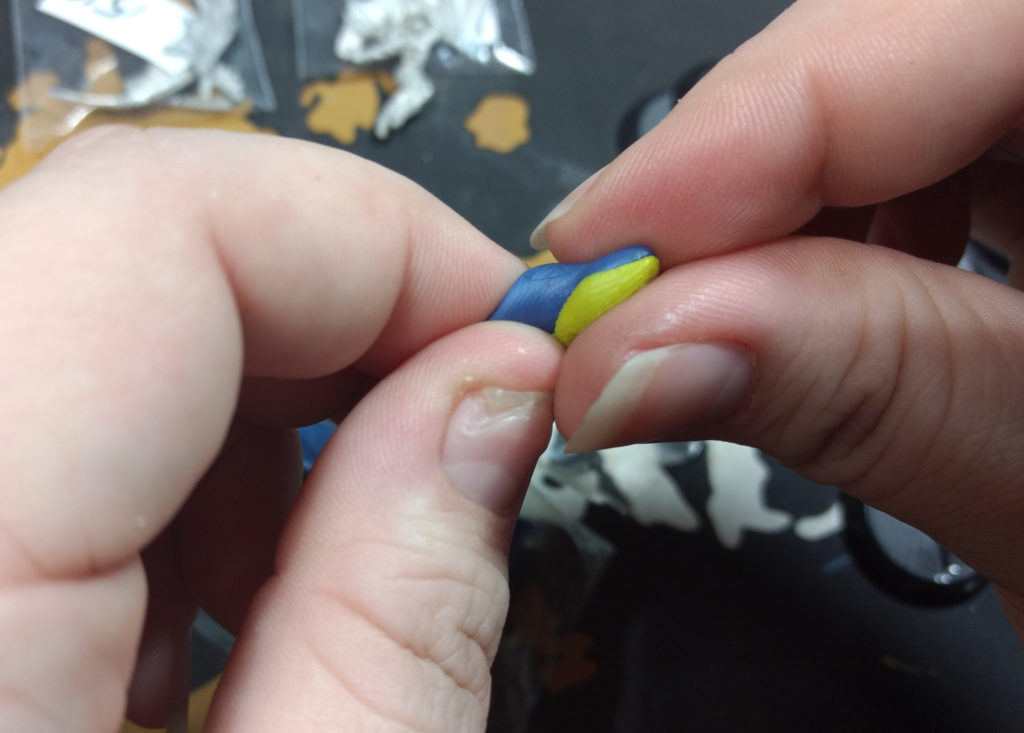
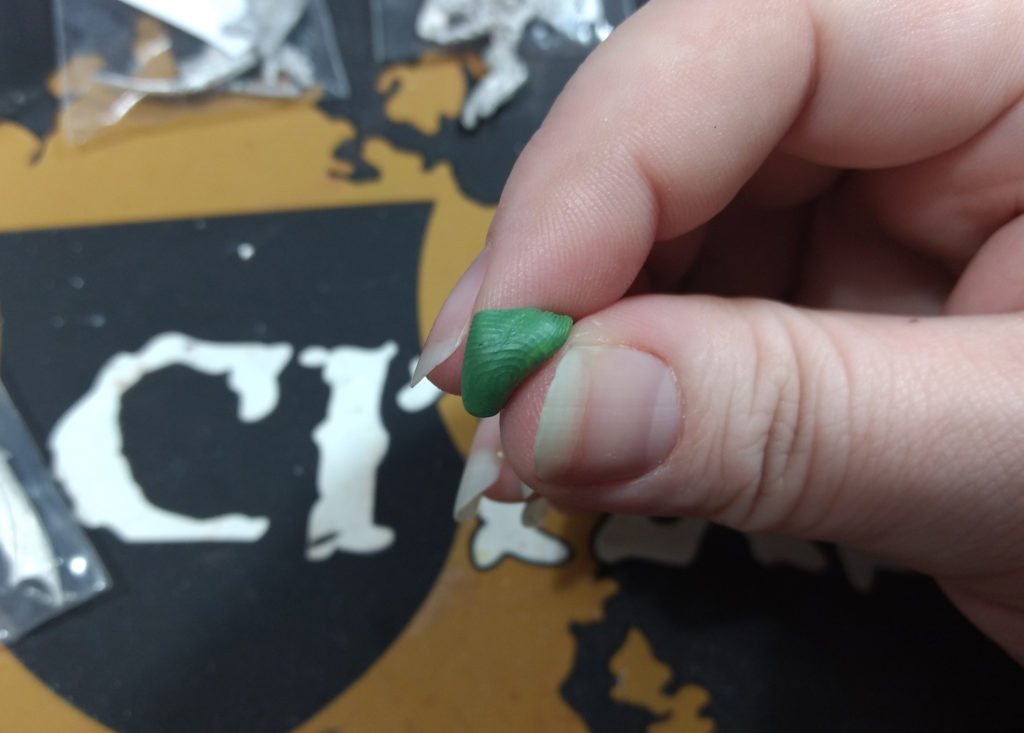
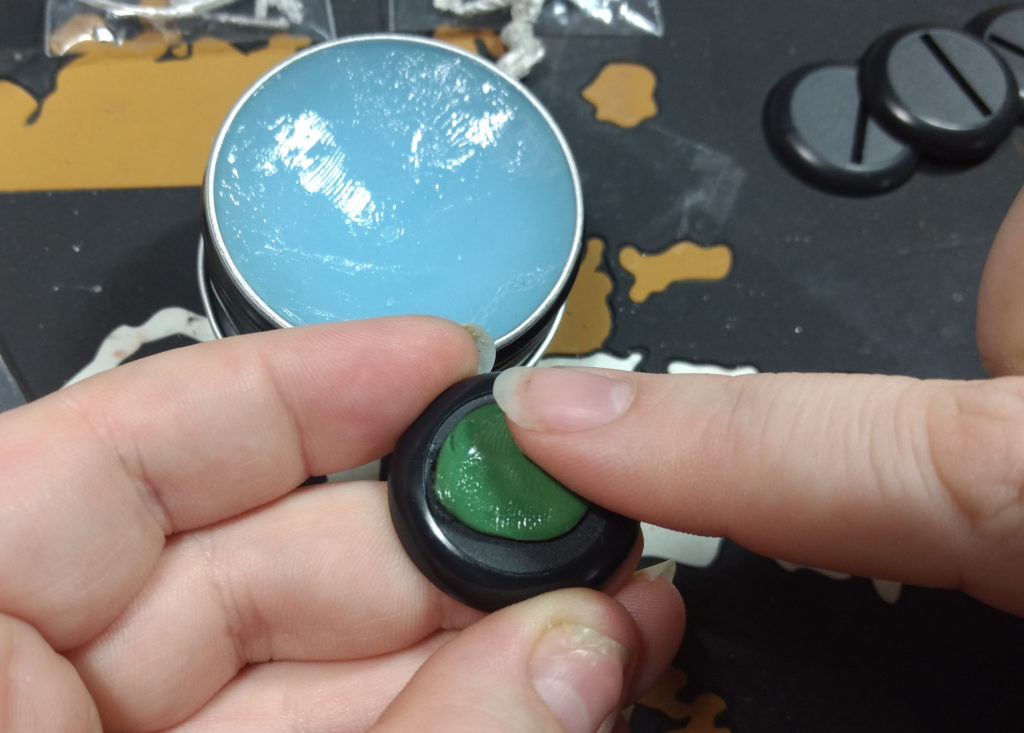
1. Pull off equal parts of blue and yellow epoxy putty and mix them with your fingers until the putty is a consistent green color.
2. Firmly press the putty onto the blank base so that it adheres to the plastic.
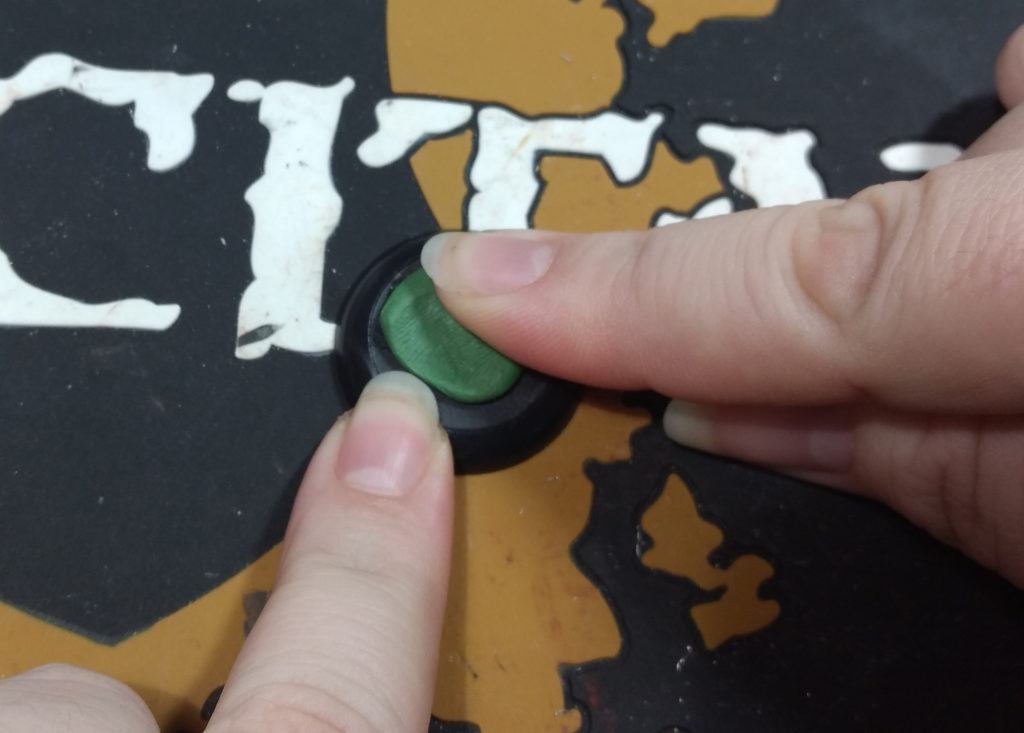
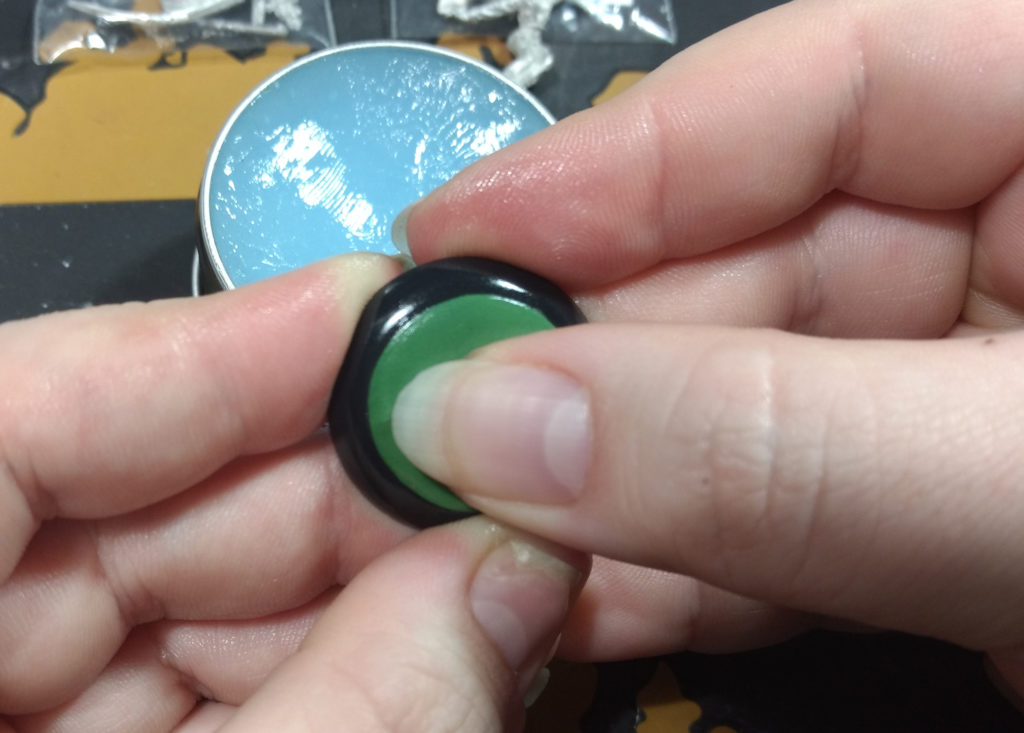
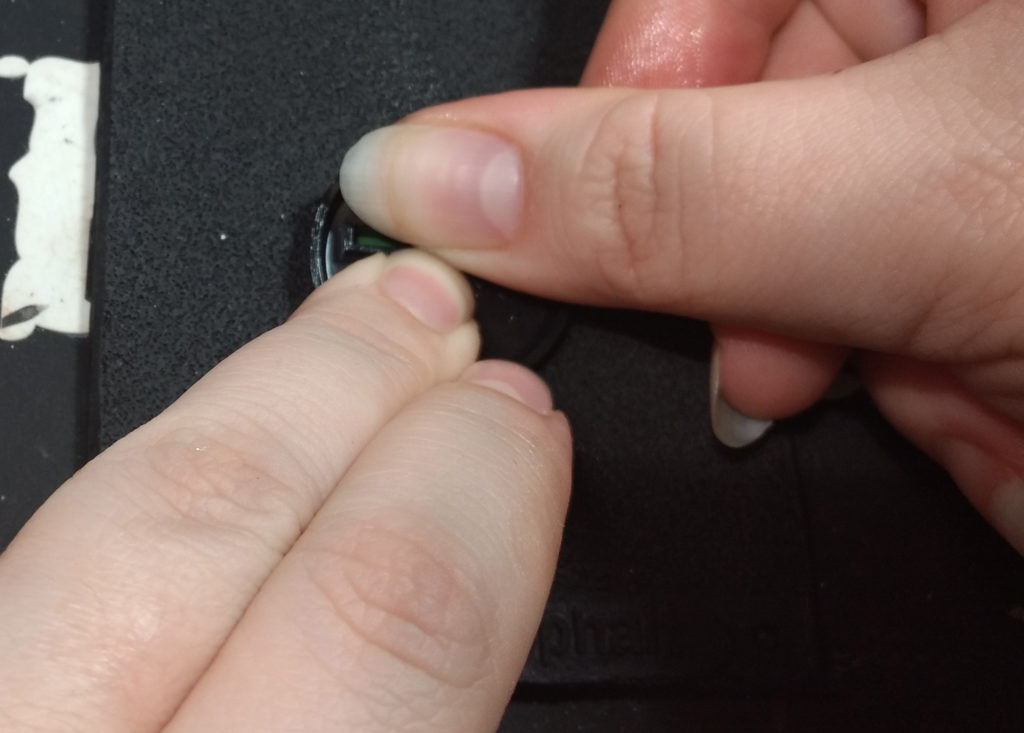
3. Apply some Vaseline to your fingertip and use it to press the putty into the recessed area of the base.
4. Use your thumb (and more Vaseline, if needed) to smooth out the putty.
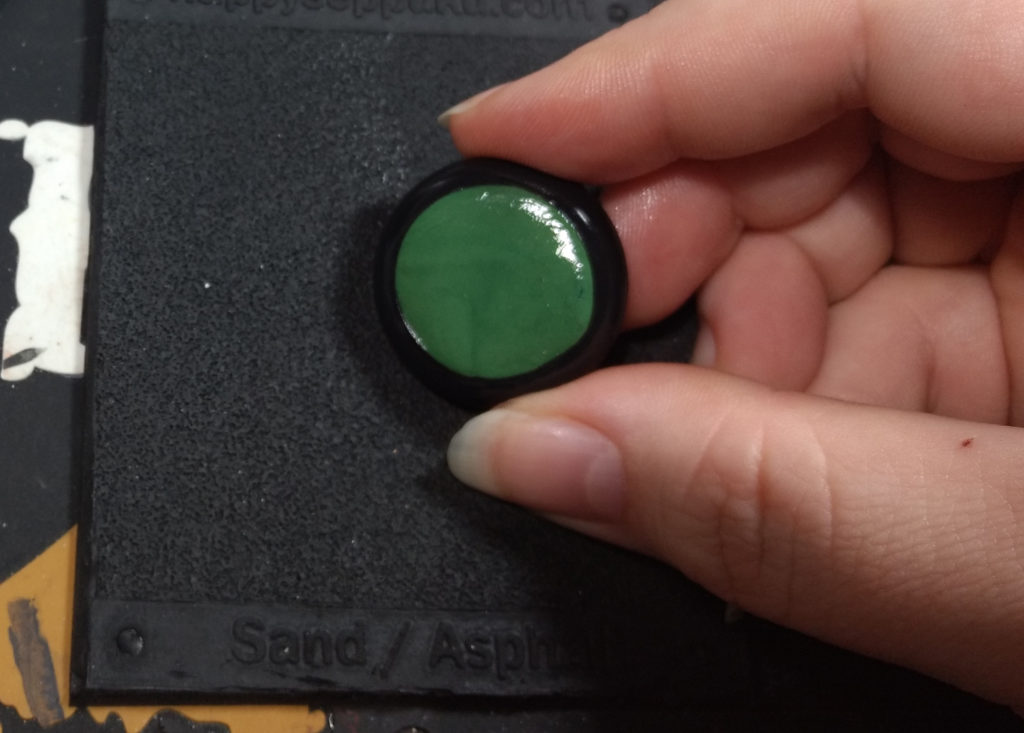
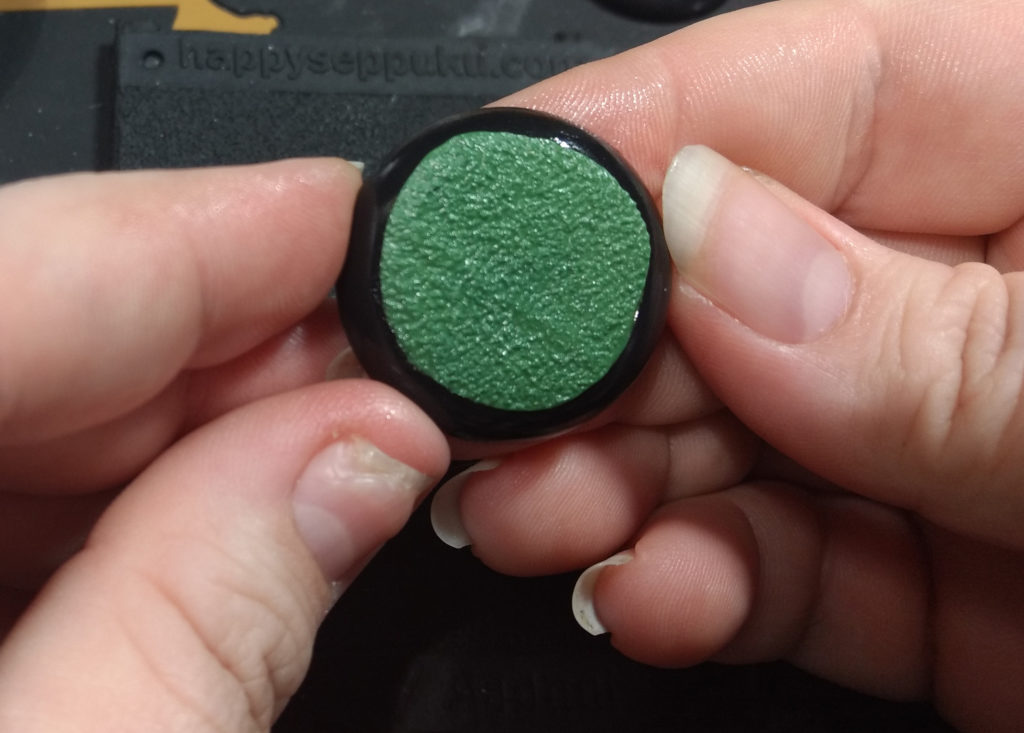
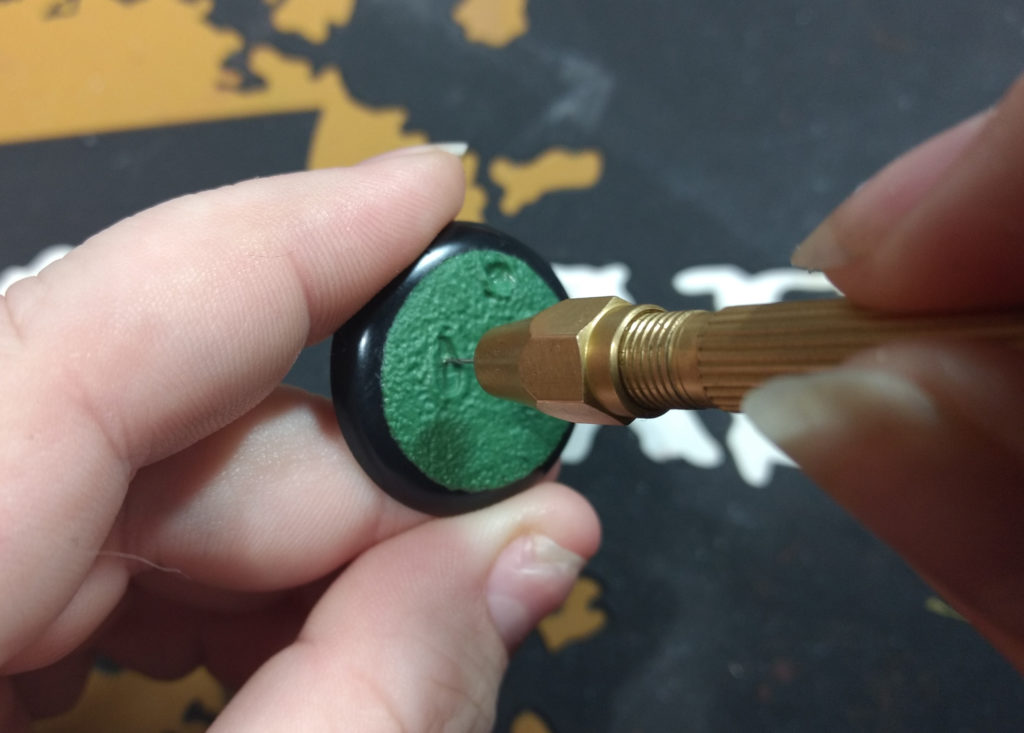
5. Place the texture stamp you plan to use flat on the tabletop, then turn the base over and firmly press it down onto the stamp. Try to keep the pressure even across the entire base.
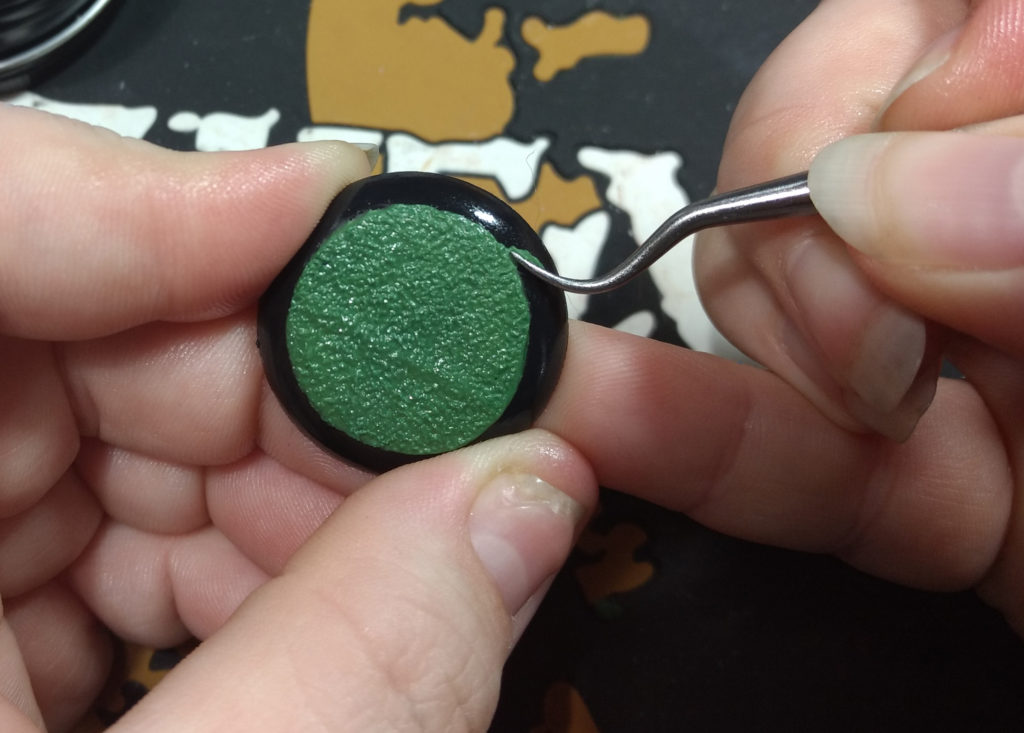
6. Carefully pull the base off of the stamp and turn it over to inspect the texture. If necessary (or desired), use a sculpting tool to carefully scrape away any putty that may have flowed over the edge of the recessed portion of the base.
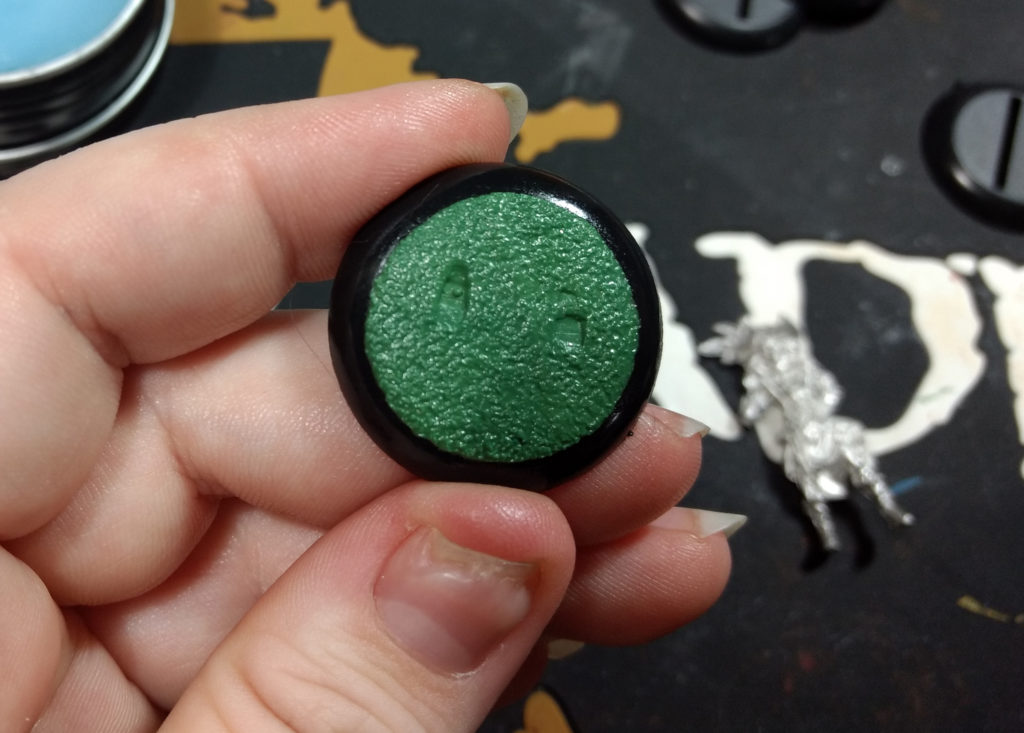
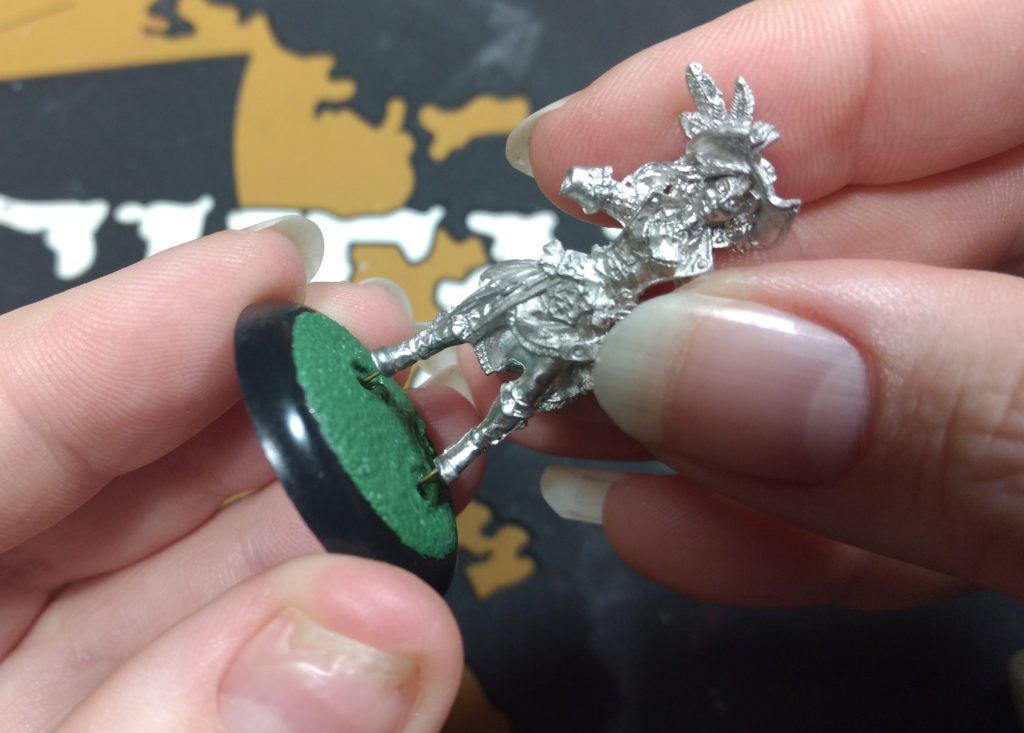
7. Place the base on the tabletop, and carefully press the feet of the miniature into the putty.
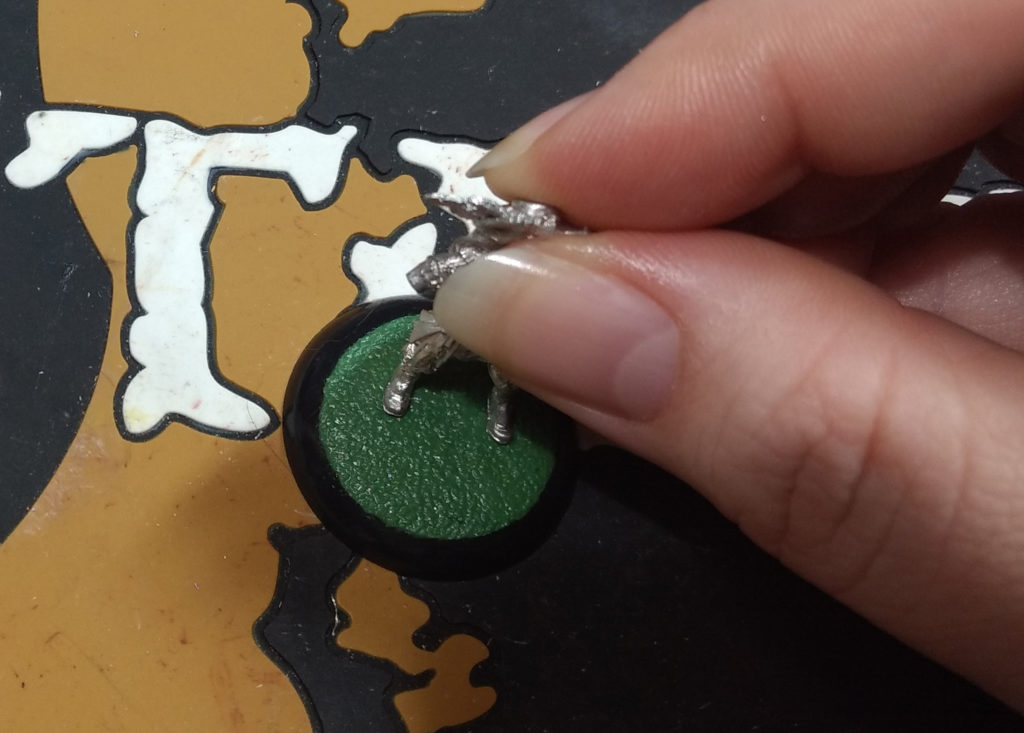
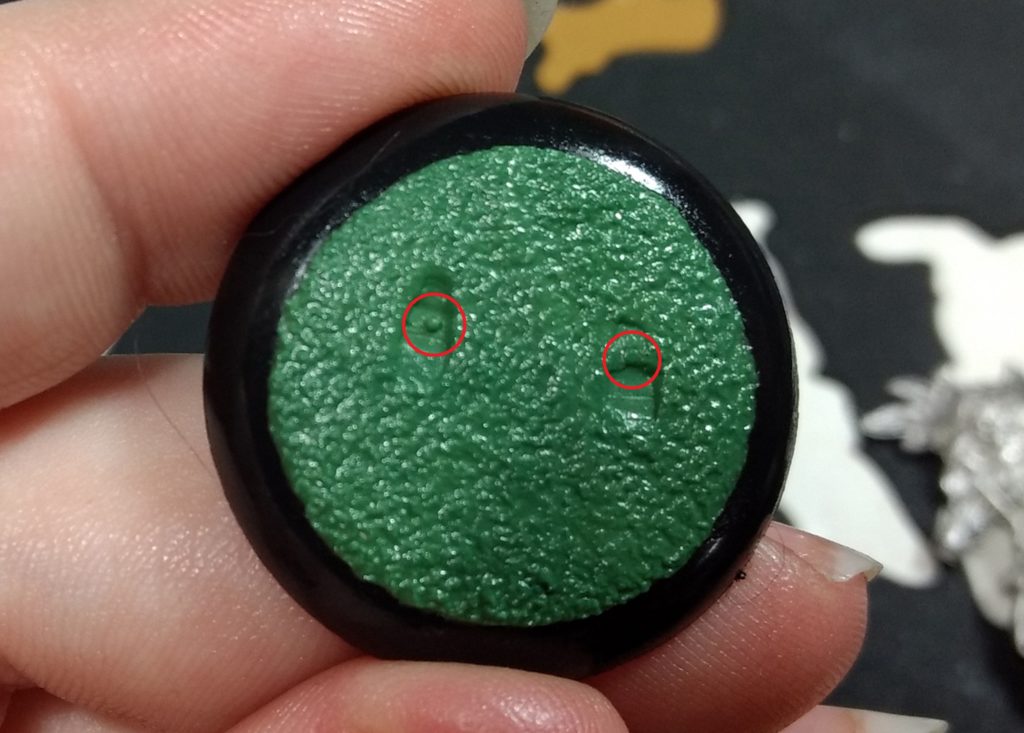
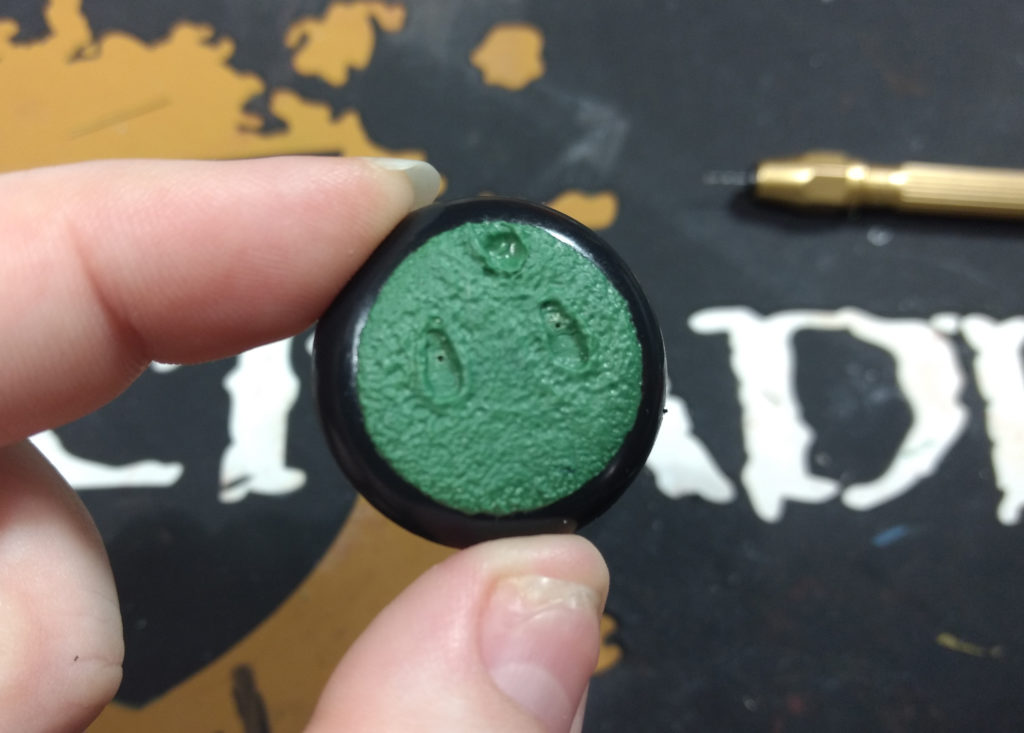
8. Remove the miniature and inspect the imprint left in the putty. The holes drilled into the miniature’s feet during the preparation steps will leave raised spots in the putty that will show you where to drill holes for the pins. This ensures that the holes in the base will line up perfectly with the holes in the miniature’s feet.
Next Level Details
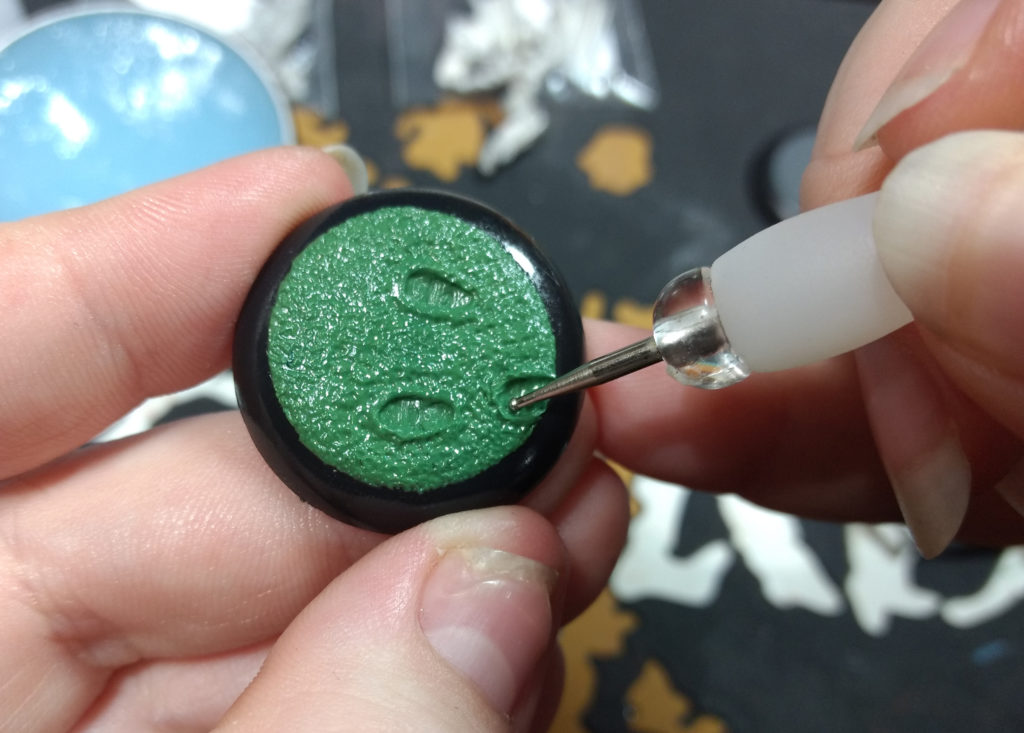
If desired, further details can be added to the stamped base while the putty is still soft.
1. In this case I chose to use a sculpting tool to create ridges around the footprints, to give the impression that the miniature’s boots have sunk down into the soft sand and left raised edges.

2. I also created a partial third footprint, to make it look like the miniature has walked across a sandy beach, rather than being plopped straight down out of the sky.
Finishing
When you are satisfied with how the base looks, set it aside until the epoxy putty cures.
NOTE: The curing time for epoxy putty varies according to the type of putty and the ratio of the mixture. Check the instructions for the specific type of putty that you used to determine the exact curing time.
Once the putty has cured, you will need to complete a few extra steps before the base is ready to paint.
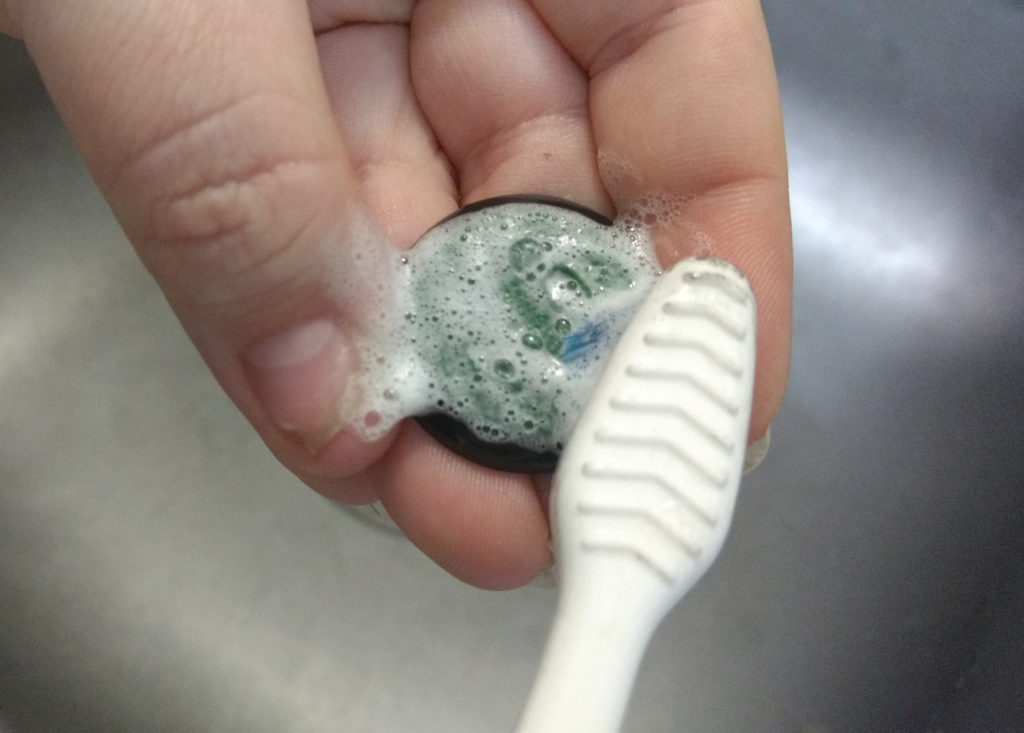
1. Using dish soap and an old toothbrush, gently scrub the base and rinse it with warm water. This removes the Vaseline from the base.
2. Use the pin vice to drill holes in the base where indicated by the impressions in the putty.
3. Cut pins and glue them into the feet of the miniature. Line the pins up with the holes in the base, and gently press the miniature into place.
Apart from any additional work that the miniature itself needs (Pirate Sophie here needs her wings and sword hand attached), the base is now ready to be primed and painted!